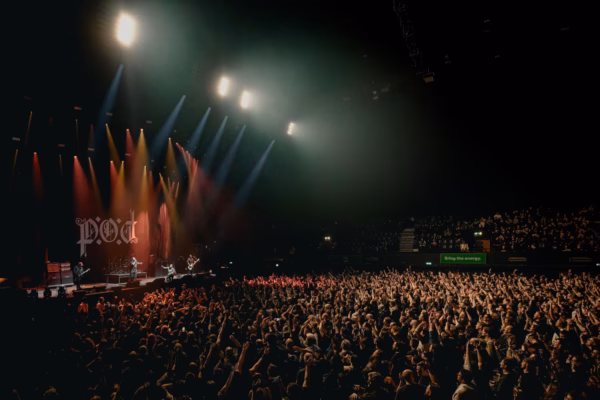
One of the most common questions I hear is: What’s the best setting for me to shoot a concert?
It’s known that setting your camera on Full Auto won’t help you to capture the best shots at a concert, due to the different and ever-changing environment. That said, I wanted to share a bit of my most used settings for concerts and in the future, I will write a detailed guide for Sony shooters as I’ve been shooting mostly Sony for the past 10 years.
Summary of Tips:
- Shoot in RAW format for maximum flexibility
- Use Manual or Aperture Priority mode for exposure control
- Choose the right metering mode for your camera brand
- Shoot wide open apertures for low light, narrow for context
- Use fast shutter speeds to freeze action (1/200s or higher)
- Push your ISO higher for low light (up to 5000-6400)
- Use AF-C or Tracking autofocus to lock onto subjects
- Pre-set white balance or adjust later in the post-processing flow
Shoot in RAW: this should be your top priority
When it comes to concert photography settings, shooting in RAW format should be your top priority. RAW files contain an uncompressed wealth of image data, allowing you to have huge flexibility and control during post-processing, making adjustments that wouldn’t be available on a JPEG granting you unparalleled flexibility and control on post-processing. You’ll be able to push the exposure, adjust white balance, shadows, and more without compromising quality!
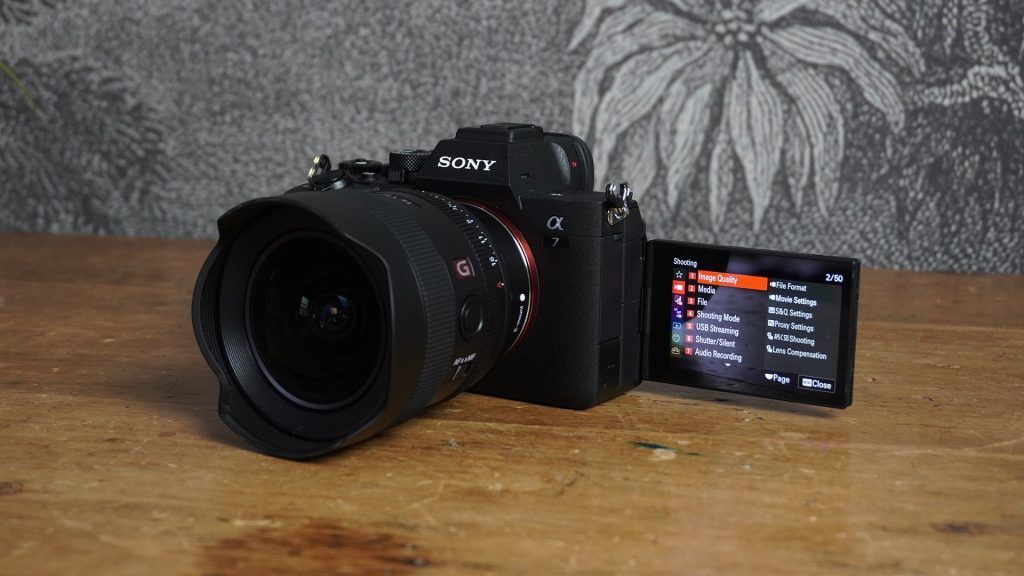
Master Manual Mode for Exposure Control
For the best concert photography settings, Manual mode or Aperture Priority mode are your go-to exposure modes. These settings provide the precise control needed to adapt quickly to the light and shadow changes on stage.
Metering Mode
The metering mode you choose can make or break your exposure. For Sony shooters, the Multi metering mode offers comprehensive coverage and accurate light metering. Spot metering, however, allows you to focus on the artist for moodier, more dramatic exposures. Nikon users should try Matrix Metering, while Canon fans might prefer Evaluative Metering.
Aperture: Balancing Light and Context
As a general rule for concert photography settings, shoot with your aperture wide open to maximize light intake. This enables faster shutter speeds without excessive noise. However, in well-lit scenarios, a narrower aperture can capture more stage context, adding depth and dimension.
Master Shutter Speed for Frozen Action
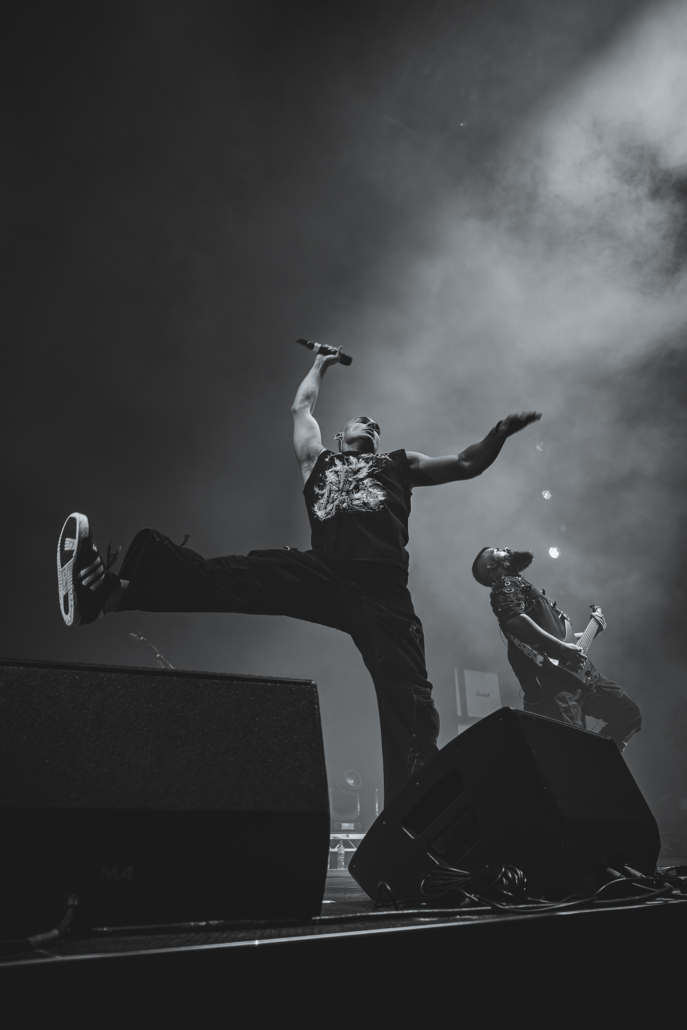
To freeze the frenetic motion of performances, use shutter speeds of 1/200 second or faster. For acoustic sets, you can lower it further, I sometimes go to 1/60 second. For metal and rock concerts (which I most frequently shoot), it may require 1/400 second or higher to capture an artist jumping or headbanging
ISO: Embrace the Noise (Within Reason)
Modern cameras have improved significantly at high ISOs, allowing you to push the limits in low-light concerts.
I usually set a maximum of ISO 5000/6400 and only raise it further if absolutely necessary. Embrace some noise for well-exposed, atmospheric shots capturing raw energy. If you’re not too keen on noise, I’d recommend keeping a maximum of 3200 ISO, but always check what are your camera capabilities as it may vary significantly.
Autofocus: Lock onto the Action
For autofocus in concert photography settings, I use AF-C (Continuous) or Tracking mode. These allow me to track the artist’s movements until I get the shot, or in high-speed bursts, enabling me to capture most of the scenes in focus.
White Balance: Set it or Forget it
Shooting in RAW allows you to adjust white balance in post-processing. However, if you’re familiar with a venue’s lighting, pre-setting a custom white balance can streamline your batch editing workflow for consistent results.
By mastering these essential concert photography settings, you’ll be equipped to capture truly stunning images that immortalize the magic of live music. Experiment, develop your style, and make every shot a showstopper!