BLOG
16 articles
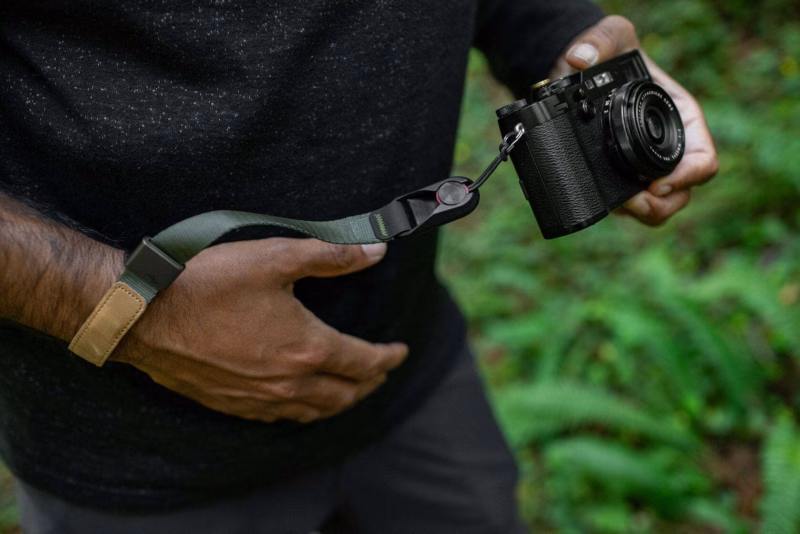
Wrist Strap for Concert Photographers: Peak Design Cuff Reviewed 15 October 2024
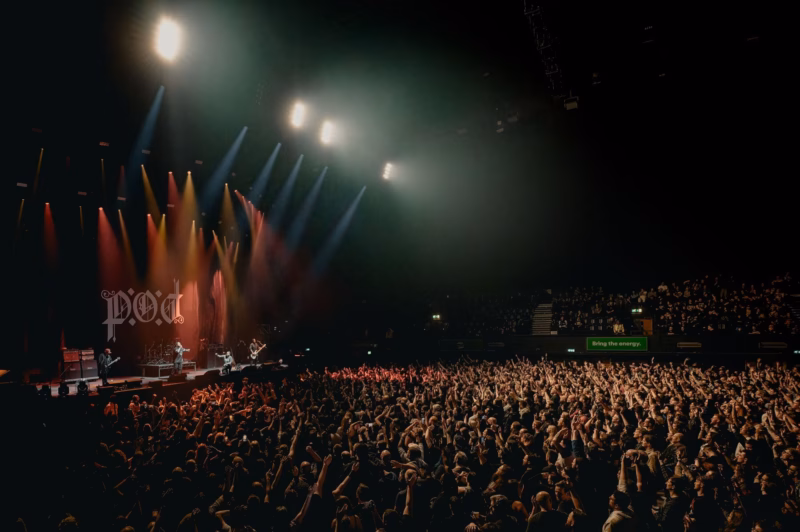
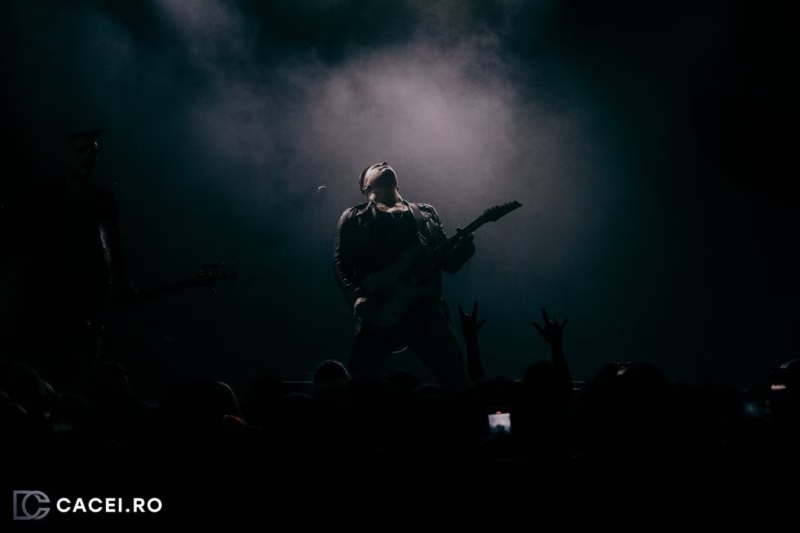
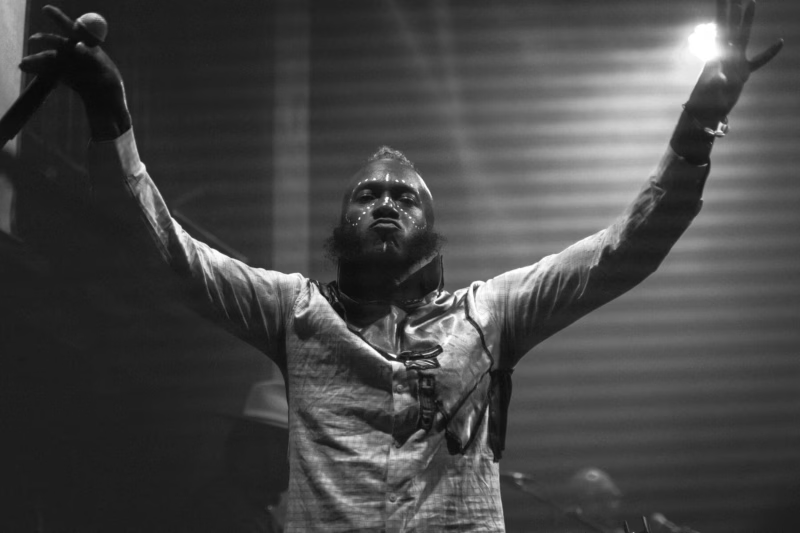
The Art of Concert Photography: More Than Just Photos 15 October 2024
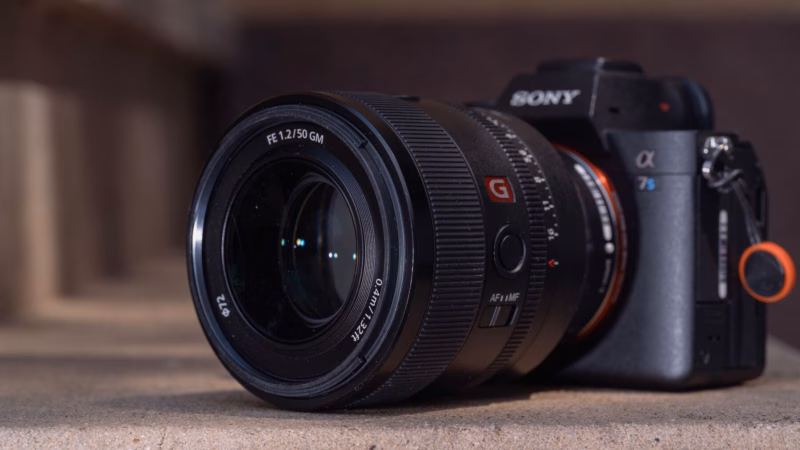
The Best Sony Lenses for Concert Photography: Zooms and Primes 29 March 2024
Everything You Need to Do Before Photographing a Live Concert: From Credentials to Camera Settings: 29 March 2024
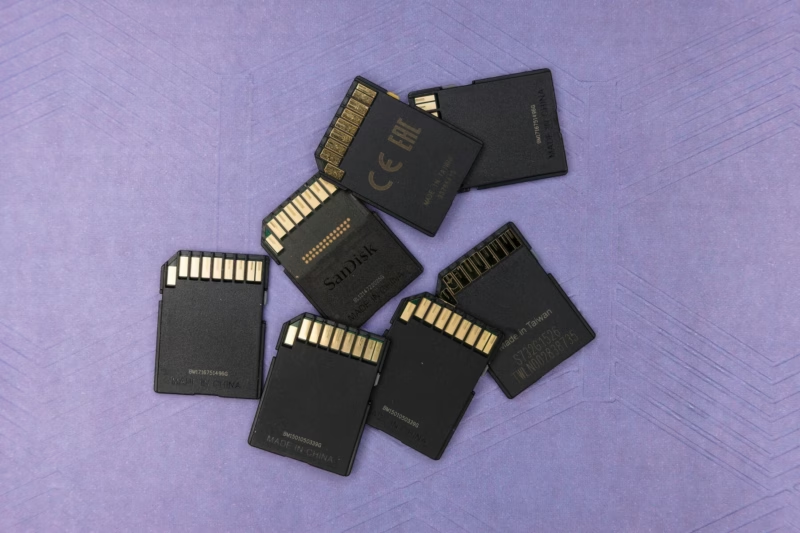
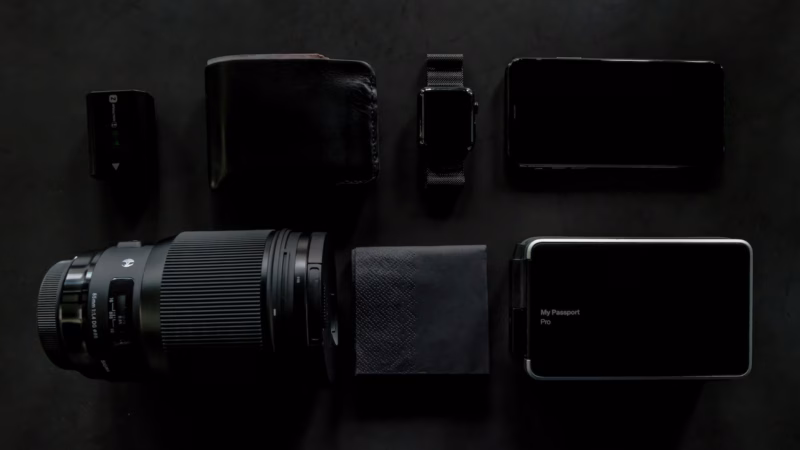
Best Tools to backup your photos as a concert photographer 11 March 2024
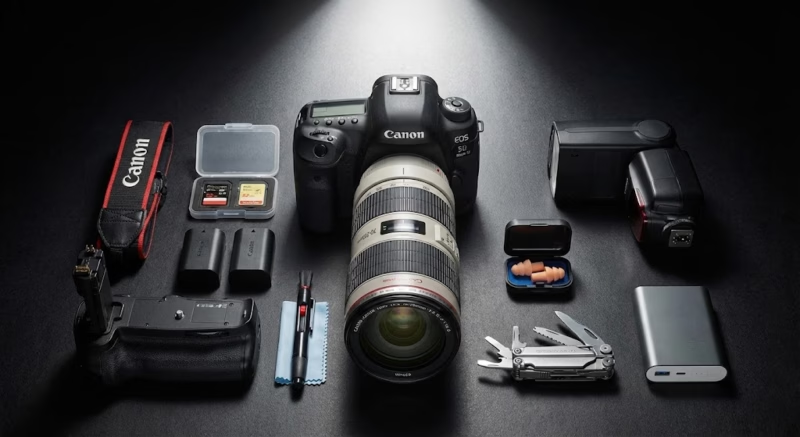
Essential Accessories for Concert Photography: My Top Picks and Brands 10 March 2024
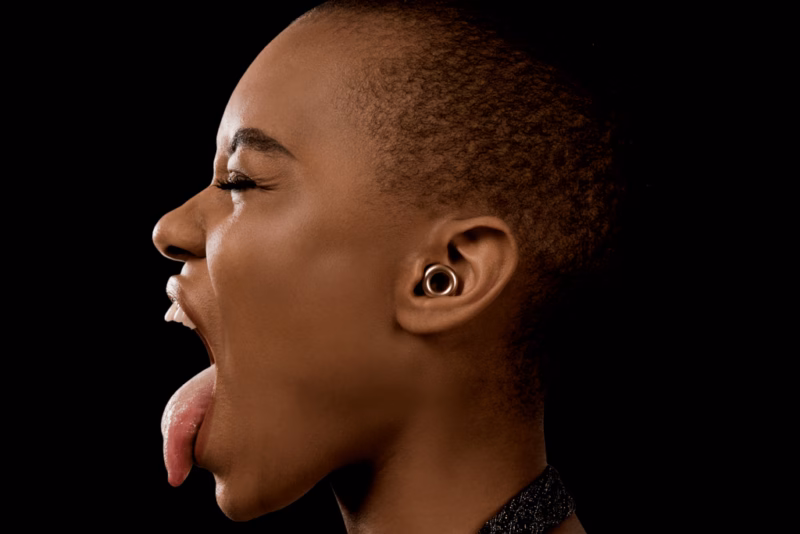
Recommended Earplugs for Concerts 5 March 2024
Choosing the right camera settings for concert photography 5 March 2024
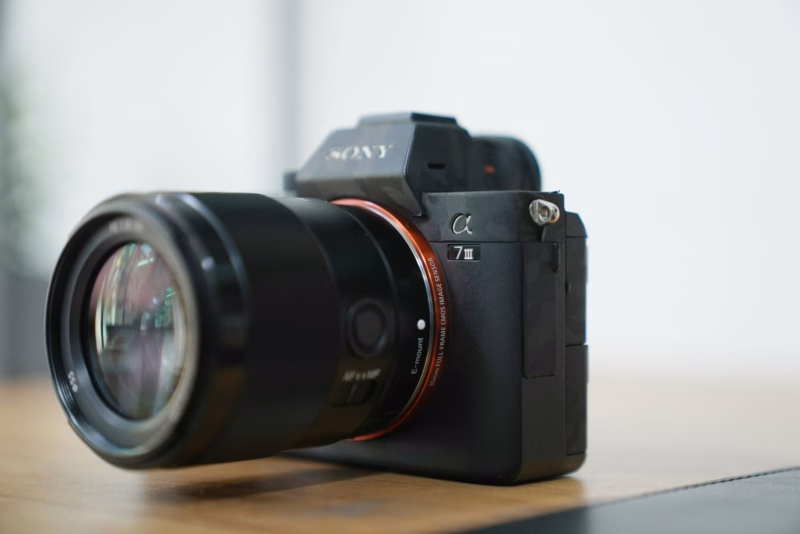
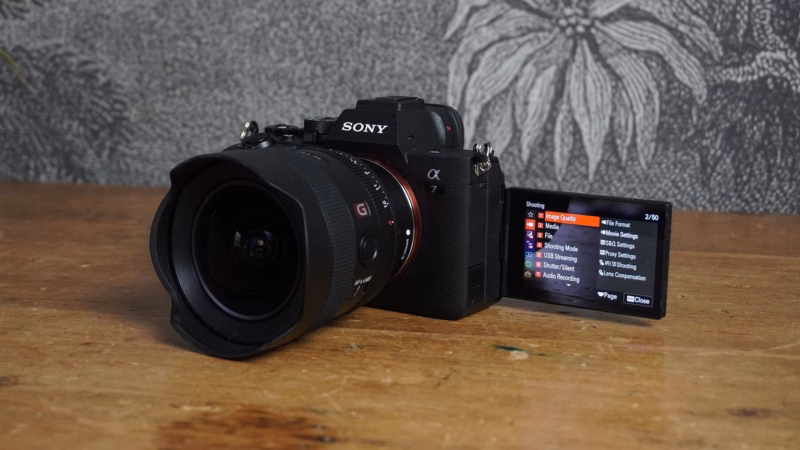
Choosing a Full Frame Mirrorless Camera for Concert Photography 5 March 2024
How to Get Started in Concert Photography 5 March 2024
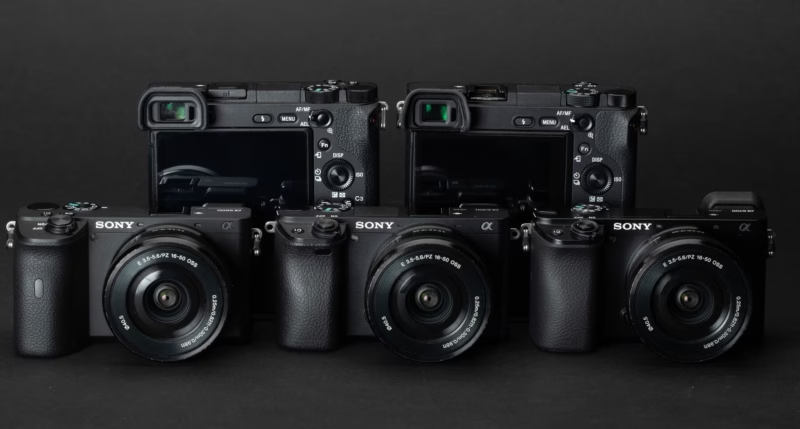
Choosing a Mirrorless APS-C Camera for Concert Photography 18 December 2023
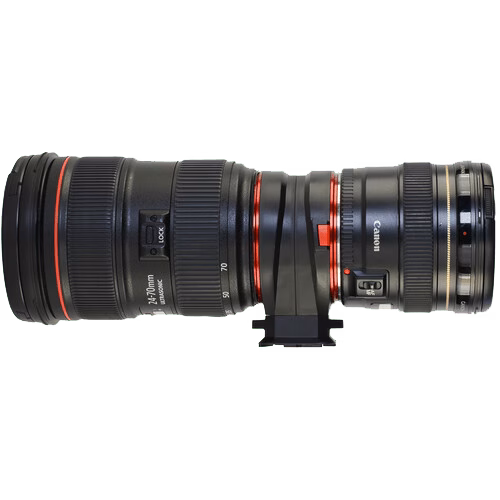
Quick lens switching on Concert Photography: Peak Design Lens Kit review 30 November 2023
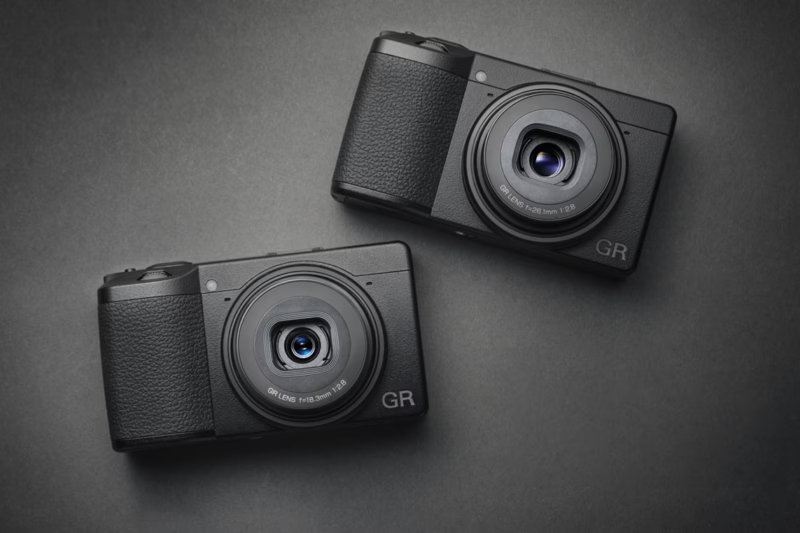
Using a Ricoh GRIII and GRIIIx for Concert Photography – Review 29 November 2023
Banding with LED lights and the Electronic Shutter in concert photography 28 September 2023

Chiaroscuro – A Photographer’s Guide to This Technique 1 August 2023
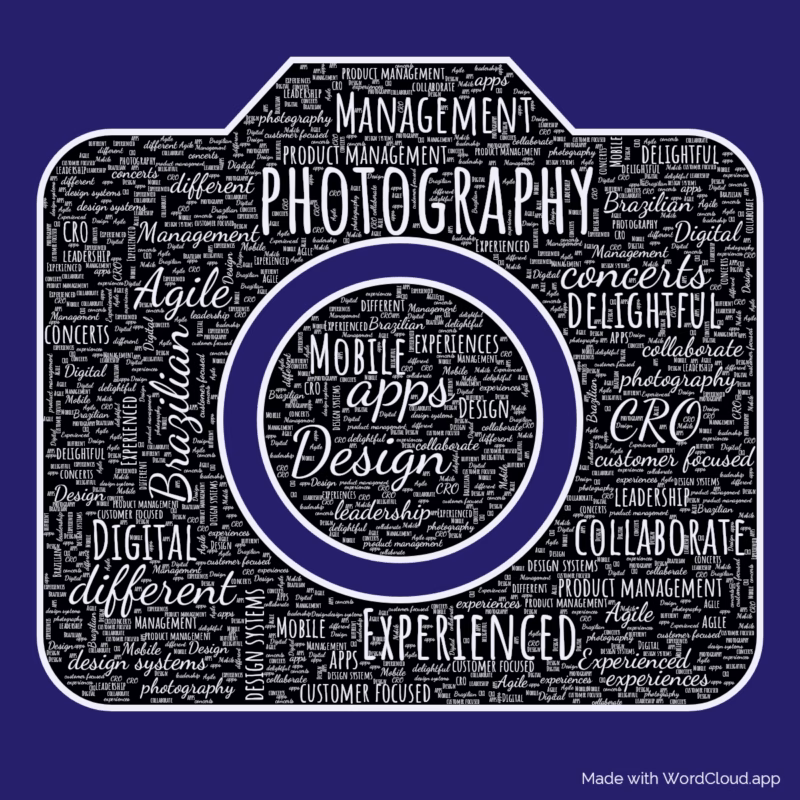
WordCloud – Make your own tag cloud easily 20 May 2023

Ireland Roadtrip 18 May 2023