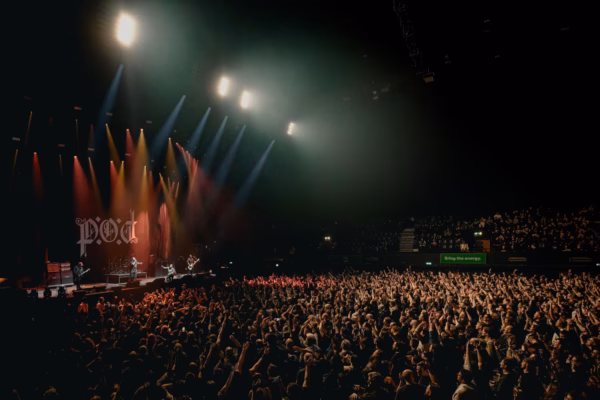
When shooting a concert, one of the first things I noticed was that either photographers carry two camera bodies, one with a wider lens and one with either a zoom or a good prime, or they carry loads of side pouches for switching the lenses.
I’ve tried using a camera pouch only, but besides the fact that they become a bit bulky on your body, can collect dust and are not as quick as I’d expect. With that in mind, I started looking for other options and found one that could be a good fit for me, both with Concert Photography and also on travel scenarios where I don’t want to stop and open my camera bag to pick up the extra lens.
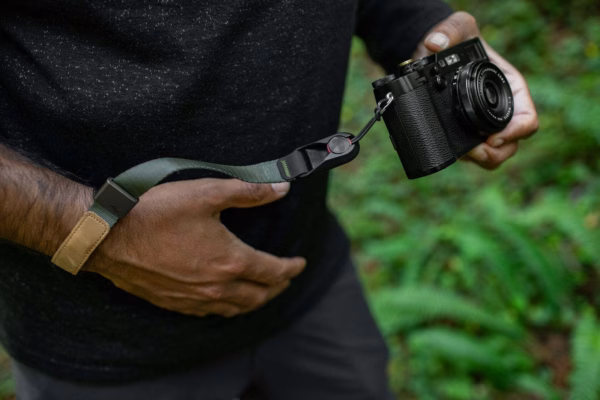
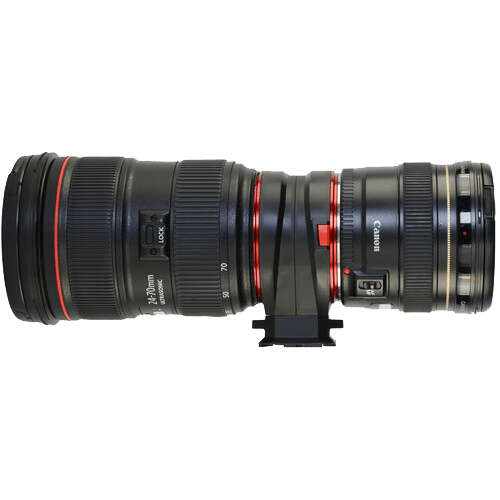
Enters the Peak Design Lens Kit
The Lens Kit is made of rigid glass-reinforced nylon, and the mounts are made of aluminium, enabling quick changes. I’ve got my copy for the Sony E/FE mount, but they’re also available for Canon EF and Nikon F mounts.
When you place a lens on the Lens Kit, it has a lock, similar to what you’d have on your camera, and to remove it you need to press the release button and then turn it, making them extra safe, avoiding the risk of dropping them on a dirty and busy floor.
It also has a feature allowing you to rotate the mount’s position, which helps keep your heavier lens pointing downwards to prevent it from dangling.
My approach using the Lens Kit
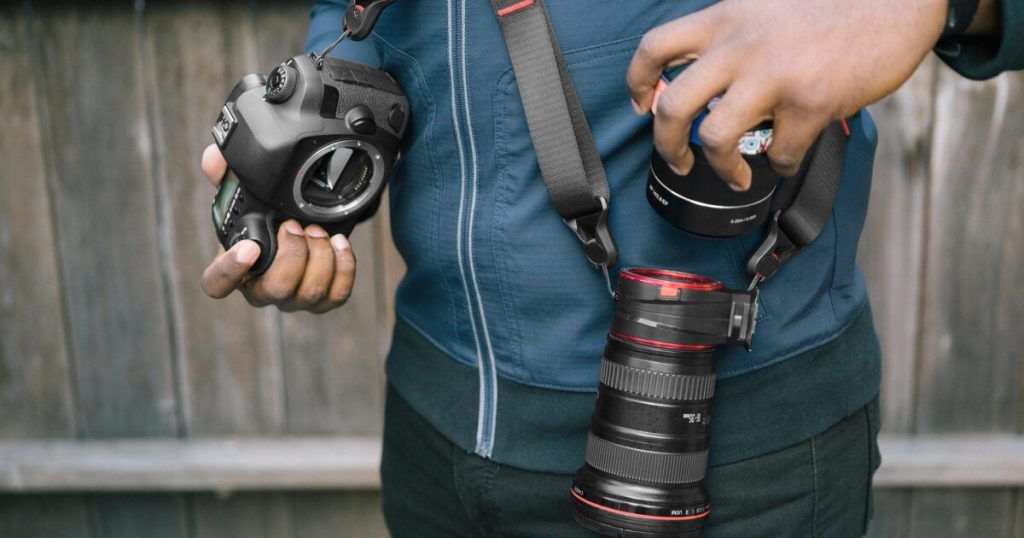
My approach involves keeping the main lens, the Tamron 35-150mm f/2-2.8, on my camera and usually one secondary lens, the Tamron 17-28mm f/2.8, on the Lens Kit (you can have 2, but I chose that for speed), attached to a second strap for ease of movement. When switching lenses, I remove the lens from the camera with the sensor facing down or activate the shutter closure for protection, then switch the lenses using the Kit free slot. Sometimes I need an additional lens, like the Tamron 50-400mm or an anamorphic lens, then I have both placed on the Lens Kit and carry an extra pouch so that I can drop quickly the lens removed from the camera and get one of the lenses. After I have some time I might add the lens from the pouch back to the kit, or just leave it there.
Of course, when compared with carrying 2 camera bodies, it’s not comparable, but if you don’t want or can’t spend too much on a second body, this approach has helped me quickly to take wide and close shots with different lenses in short time frames
Pros and Cons of the Peak Design Lens Kit
- Pros:
- Quick Lens Changes: Enables Fast Swapping Between Lenses.
- Secure Mounting: The lock mechanism ensures lenses are securely attached, reducing the risk of drops.
- Flexibility in Lens Positioning: The ability to rotate the mount helps in managing the balance with heavier lenses.
- Lightweight and Durable: Made of glass-reinforced nylon and aluminium, it’s both sturdy and easy to carry.
- Versatility for Different Cameras: Available for Sony E/FE, Canon EF, and Nikon F mounts.
- Reduces Bulk and Clutter: A streamlined alternative to multiple pouches or carrying two camera bodies.
- Cons:
- Limited to One Extra Lens on the Go: While it can hold two lenses, for speed, I often use it with just one, limiting options compared to dual camera setups.
- Dependency on Specific Mounts: Only compatible with certain camera mounts, which might be a limitation for some photographers.
- Might require Additional Accessories: For optimal use, it’s often paired with other Peak Design products like straps or clips.
Conclusion
For concert photography, agility is key to not miss ‘The Shot’ when an artist is on stage. Any second missed during the first three songs can be crucial.
While the Peak Design Lens Kit doesn’t replace completely the versatility of having 2 camera bodies with different lenses on each, it is a great option due to being less cumbersome and definitely cheaper than the previous option.
For me, it has been used in every single concert I shot since I bought it, and I always carry it during travelling, either attached to the Peak Design Camera Clip on my backpack strap, or on the second strap.