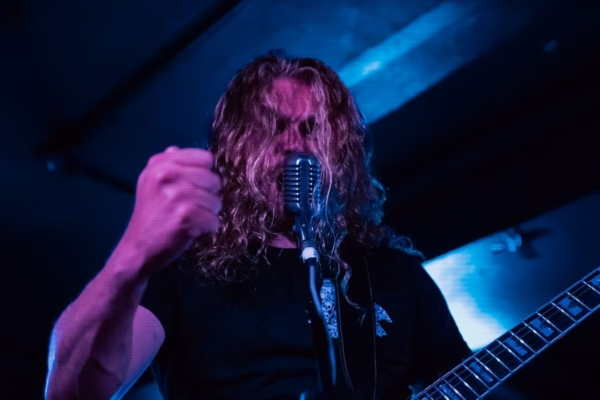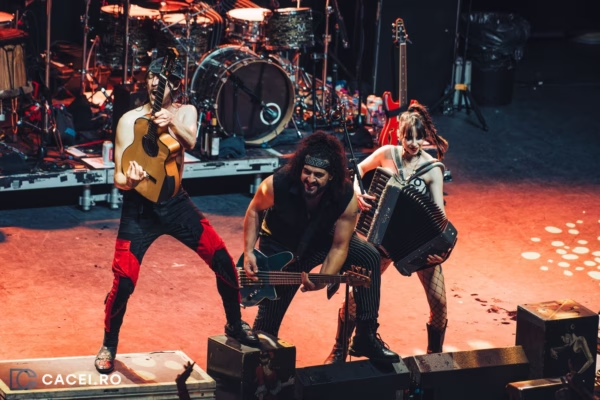
The first time I took a camera into a dark venue, I came home with two kinds of photos: black frames where the singer was a vague silhouette, and bright frames where every moving limb had smeared into soup. Nothing in between. The reason was simple, and it is the reason this article exists: I did not yet understand the exposure triangle.
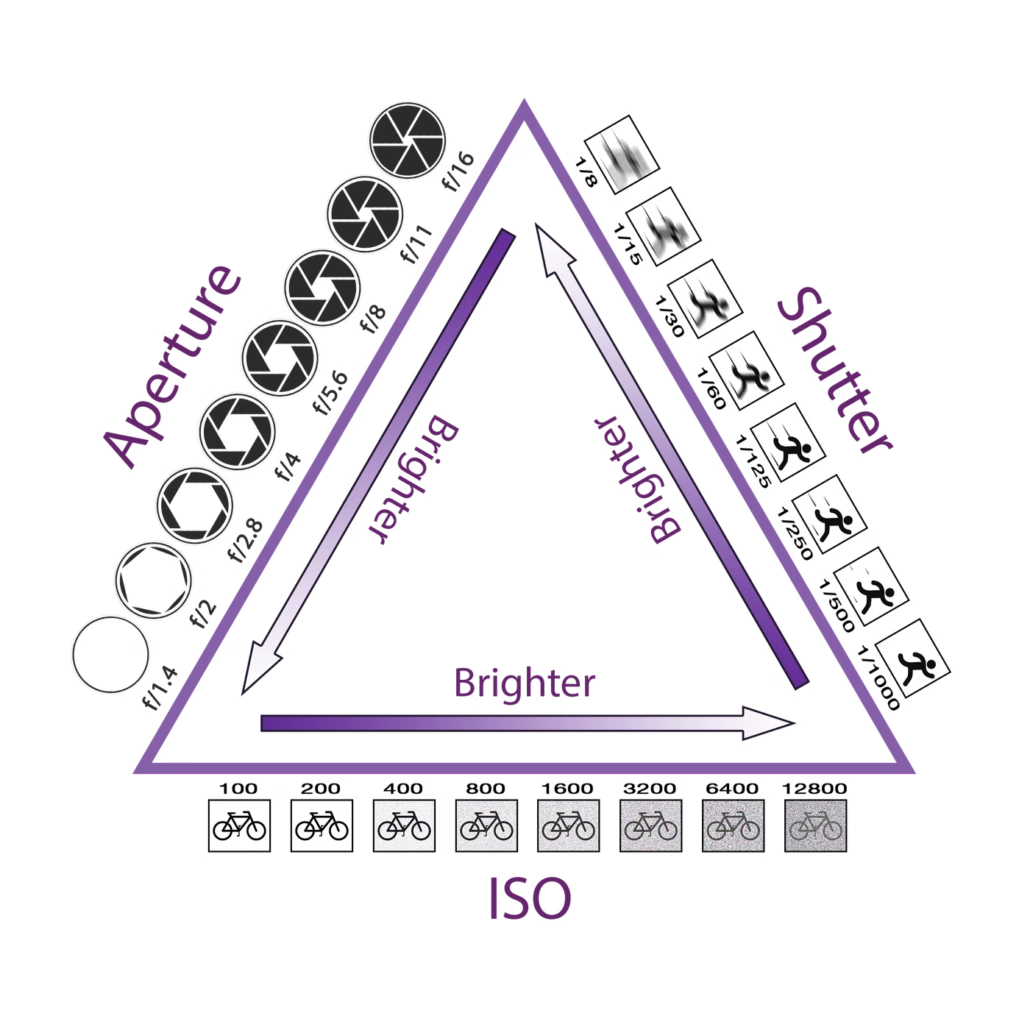
The exposure triangle is the relationship between the three settings that control how bright your photo is: aperture, shutter speed and ISO. Change one, and you either change the brightness of the image or you change one of the others to compensate. That trade is the entire game of concert photography, because a gig gives you almost no light and a subject who refuses to stand still. Learn the triangle and every other technical decision starts to make sense.
What exposure actually means
Exposure is just the total amount of light your camera collects for a single photo, and how bright the resulting image is as a consequence.
Your own eyes do this constantly. Walk from a sunny street into a basement venue in Camden and for a few seconds you see nothing. Then your pupils widen, your brain turns up the gain, and the room appears. Your camera has to make the same adjustments, except you are the brain.
We describe the result in three broad ways:
- Correctly exposed – the subject is rendered at a sensible brightness, with detail where you want it.
- Underexposed – too dark; detail drowns in the shadows.
- Overexposed – too bright; highlights burn out to pure white and the detail there is gone for good.
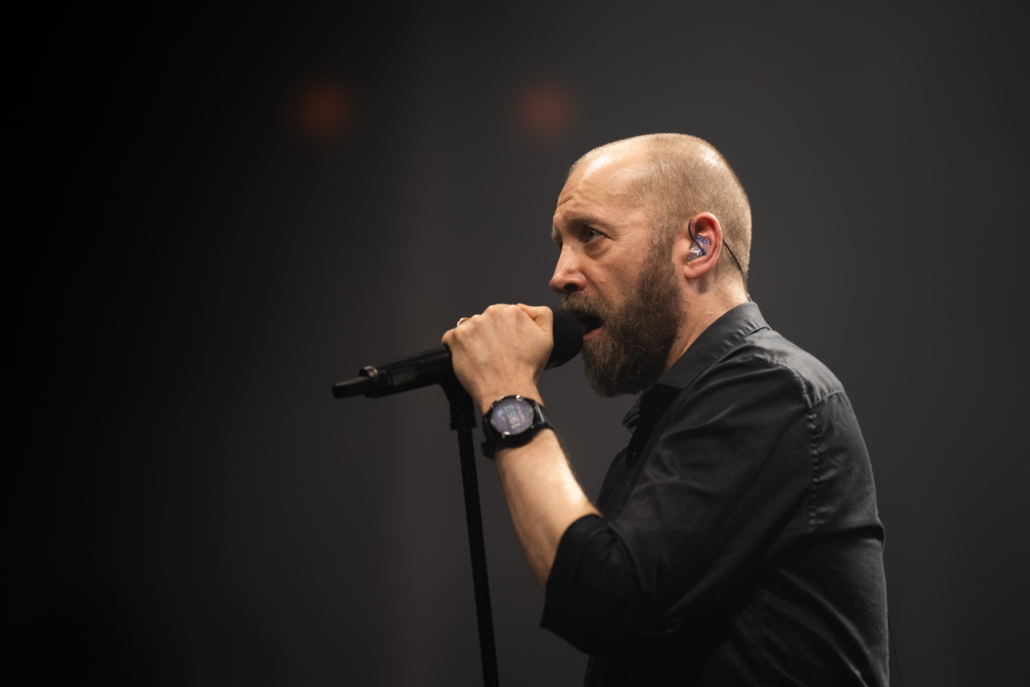
Here is the first live-music twist: at a gig, “correct” almost never means the whole frame looks bright. A stage is a spotlit face floating in blackness. If the face is right, huge areas of the frame should be nearly black. Chasing an evenly bright image at a concert is how you ruin the shot.
The three controls: aperture, shutter speed and ISO
Every camera, from a ten-year-old DSLR to the latest mirrorless body, controls light with the same three levers.
Aperture: how wide the door opens
The aperture is an adjustable hole inside the lens, like the pupil in your eye. Open it wide and lots of light floods in; close it down and only a trickle gets through. It is measured in f-numbers, and counter-intuitively, a small number like f/1.8 means a big opening. Aperture also controls depth of field, which is how much of the scene is in focus. At a concert, I live at f/1.8 to f/2.8, because I need every drop of light the lens can gather.
Shutter speed: how long the door stays open
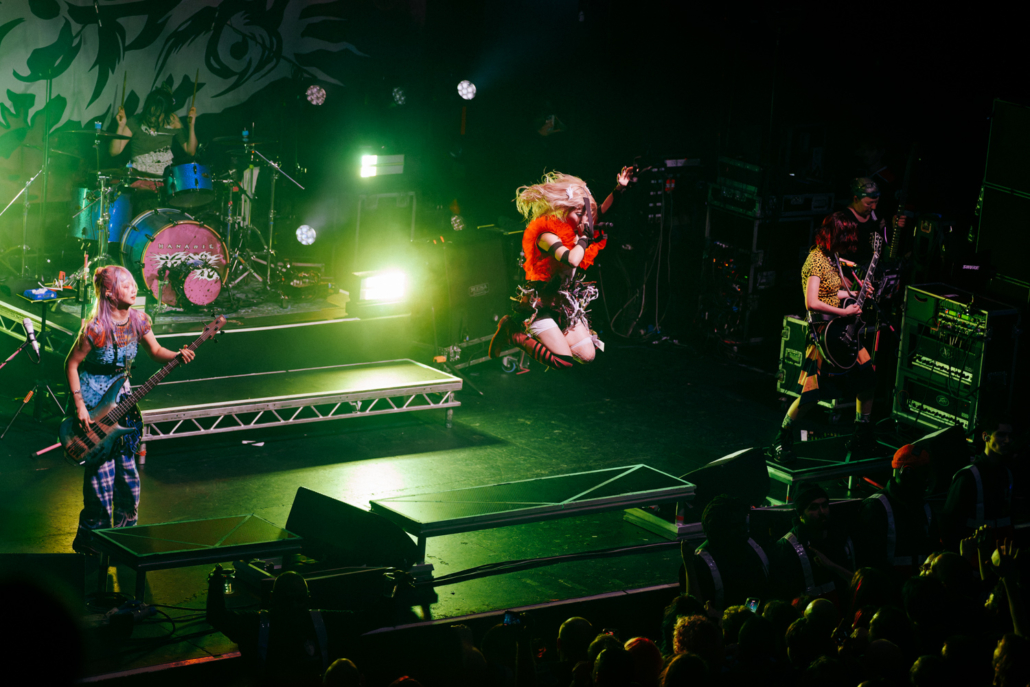
The shutter is a curtain in front of the sensor. Shutter speed is how long it stays open, from whole seconds down to tiny fractions like 1/4000s. Longer means more light, but anything that moves during that time blurs. A swaying vocalist at 1/60s is a smear; at 1/250s they are frozen. At even faster you can grab jump shots or some highly dynamic movements frozen.
ISO: how far you turn up the volume
ISO does not let in any light at all, which is why some people argue it is not really part of the triangle. What it does is brighten the signal the sensor has already captured, a bit like turning up the volume on a quiet recording. And exactly like turning up a quiet recording, it amplifies the hiss too, which in photos shows up as noise: grainy speckle, worst in the shadows. You will often hear that ISO “changes the sensor’s sensitivity”; it doesn’t, and the distinction matters once you start editing. I unpack it in my ISO guide.
At a gig, ISO is the setting that takes the strain. Somewhere between 1600 and 6400 is normal working territory in most photo pits I’ve worked, and small dark clubs will push you to 6400–12800.
Stops: the currency of light
Photographers measure all three settings in the same unit: the stop. One stop means a doubling or halving of light. It is the exchange rate that lets you trade one of the three settings for another.
- Aperture: f/2.8 → f/2 is one stop more light. The full-stop scale runs f/1.4, f/2, f/2.8, f/4, f/5.6, f/8, f/11, f/16.
- Shutter speed: 1/250s → 1/125s is one stop more light, because the shutter is open twice as long.
- ISO: 1600 → 3200 is one stop brighter.
Most cameras click in third-of-a-stop steps by default, which is why you see in-between values like f/3.2, 1/320s or ISO 2500. Three clicks equals one full stop.
Your camera shows all this on the light meter scale in the viewfinder, the little ruler running from −2 through 0 to +2 (some cameras show ±3). Zero is what the camera believes is correct; each whole number is one stop away from that. In manual mode you nudge your three settings until the needle sits where you want it, and as we’ll see, at a concert “where you want it” is often not zero.
How the exposure triangle trades off at a gig
Here is the crucial idea: many different combinations of the three settings produce the same brightness. These four exposures are identical in terms of light:
| Aperture | Shutter speed | ISO | Same brightness? |
|---|---|---|---|
| f/2.8 | 1/250s | 3200 | ✔ baseline |
| f/2 | 1/500s | 3200 | ✔ traded aperture for shutter |
| f/2.8 | 1/125s | 1600 | ✔ traded shutter for ISO |
| f/4 | 1/250s | 6400 | ✔ traded aperture for ISO |
Same brightness, four very different photographs. The f/2 frame freezes a jumping guitarist but has wafer-thin focus. The 1/125s frame is cleaner but risks motion blur. The f/4 frame keeps the whole band sharp but is noticeably noisier.
So the real skill is not “getting the exposure right”. It is deciding which compromise hurts your photo least. My priority order in the pit almost never changes:
- Aperture goes to its widest useful setting first, usually f/2.8, because light is scarce and I like the look.
- Shutter speed goes to the slowest speed that still freezes the performer, typically 1/250s, faster for drummers.
- ISO takes whatever strain is left. If that means 6400, it means 6400.
That order exists because of one hard-won truth: a sharp, noisy photo is usable; a clean, blurry one is a delete. Noise can be reduced in editing. Blur is forever.
Field note: the three-song limit means you cannot spend song one experimenting. My habit is to shoot the support act, to dial in a baseline. When the headliner walks out I am already within a stop of correct.
Why Auto mode falls apart at concerts
If the camera can measure light, why not let it choose everything? Because the camera’s meter is built around a lazy assumption: that the world, averaged out, is a middling grey. Point it at an average daylight scene and that assumption works beautifully.
Point it at a stage and it collapses. The meter sees a frame that is 80% blackness and panics, cranking the exposure up to make all that darkness grey. Result: the one thing you care about, the spotlit face, is blasted into a detail-free white blob. Then the venue lighting changes colour and intensity twice a second and Auto lurches around chasing it. On some cameras full Auto will even try to fire the pop-up flash, which at best flattens the image and at worst gets you walked out of the pit by security.
You can partly tame the meter by changing how it measures, and spot metering a performer’s face is a genuinely useful trick; I cover it in my guide to metering modes. But the reliable fix is taking over the decisions yourself, because you know something the camera never will: that the background is supposed to be black.
Putting it into practice at your next gig
You do not need to memorise charts. You need a starting point and the confidence to trade from it.
- Set manual mode, aperture wide open (f/2.8, or f/1.8 on a fast prime).
- Set shutter to 1/250s.
- Set ISO to 3200 and take a test frame of the stage.
- Face too dark? Raise ISO. Face blowing out to white? Lower ISO, or speed up the shutter.
- Drummer or a jumpy frontman? Buy a faster shutter by paying with ISO.
Every adjustment you make from here on is just walking around the triangle. Once that becomes instinct, you stop thinking about settings mid-song and start thinking about moments, which is where the actual photography lives.
FAQ
What is the exposure triangle in simple terms?
It is the relationship between the three settings that control image brightness: aperture (how wide the lens opens), shutter speed (how long light is collected) and ISO (how much the captured signal is brightened). They are measured in common units called stops, so making one setting a stop darker can be balanced by making another a stop brighter.
Which part of the exposure triangle should I set first at a concert?
Aperture, and set it wide open, typically f/1.8 to f/2.8, because a venue gives you very little light. Then choose the slowest shutter speed that still freezes the performer, around 1/250s for most acts. Let ISO absorb whatever is left. That order protects sharpness first and treats noise as the acceptable cost.
Does ISO actually let more light into the camera?
No. Aperture and shutter speed are the only settings that control how much light reaches the sensor. ISO brightens the signal after capture, similar to turning up the volume on a quiet recording, and it amplifies noise along with the image. That is why raising ISO makes photos grainier rather than genuinely better lit.
Why do my concert photos look too bright and washed out on Auto?
The camera’s meter assumes scenes average out to a middle grey. A concert frame is mostly black background, so the meter overexposes to compensate, burning out the spotlit performer. Exposing manually, or using spot metering on the face and accepting a dark background, gives far more reliable results at gigs.